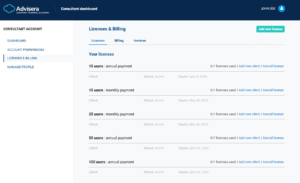
You can access and manage all of your purchased licenses from the Licenses & Billing page, from the left-hand side menu. From here, you can add a new license or cancel an existing one and add new clients to selected licenses.
Adding a new client to your license
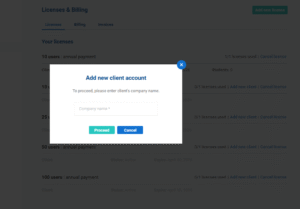
To add a new client, click on the “Add a new client” option – a small window will open where you can enter the client’s company name. After clicking “Proceed“, the client will automatically be added to your license.
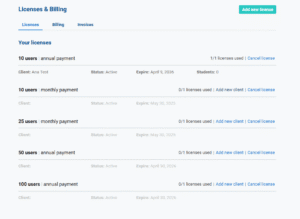
Once added, you will see the client’s company name, status, license expiry date, and the number of students invited to the company training, as shown in the screenshot below.
To continue managing the Company Training for your client account, check this Help Article: Managing Client Accounts.
Adding a new license
To add a new license, simply click “Add a new license” in the upper right corner. A small pop-up window will open, allowing you to purchase a new license directly from the dashboard.
To explore which license is the best fit, you can schedule a call with our Training Expert here.


